
Bottom bracket noises and the tools that fix them

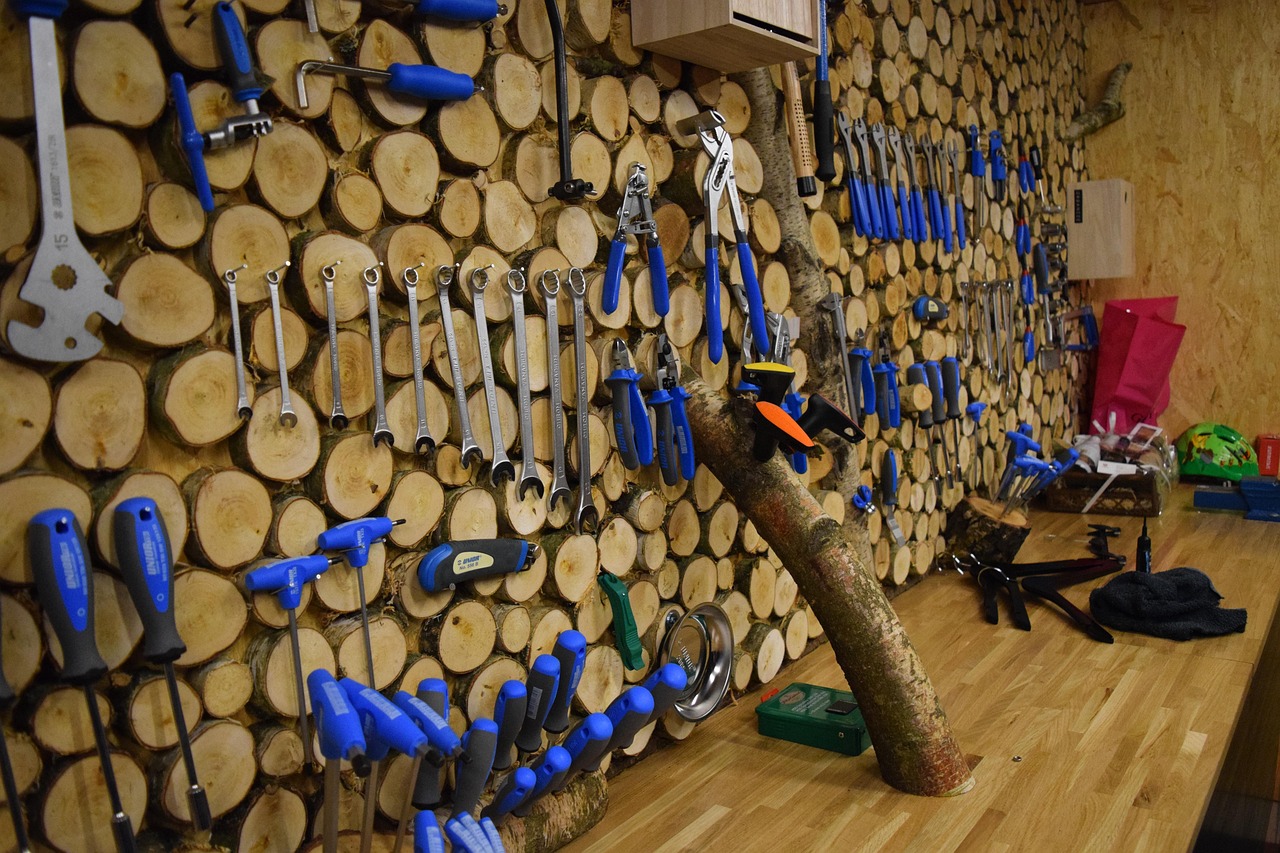
Bottom bracket noises are a common issue for cyclists. These sounds can range from subtle creaks to alarming clunks, and they can detract from the overall riding experience. Understanding the source of these noises and how to address them is crucial for maintaining your bicycle or e-bike.
In this guide, we will cover the tools needed to diagnose and fix bottom bracket problems, the different standards you might encounter, and when to seek professional help. With the right knowledge and tools, you can ensure your bike remains in top condition.
Identifying the Source of the Noise
The first step in addressing bottom bracket noises is identifying their source. Common culprits include loose components, worn bearings, or even frame issues. Pay close attention to where the noise occurs; if it happens while pedaling, it’s likely related to the bottom bracket.
To diagnose effectively, listen carefully as you ride. Is the sound present during hard pedaling or only when coasting? This information will help narrow down potential issues. Sometimes, a thorough inspection of the bike is necessary to pinpoint the exact cause of the noise.
Understanding Bottom Bracket Standards
Bottom brackets come in various standards, including BSA, PressFit, and BB30. Each type has its own specifications for installation and removal. Knowing which standard your bike uses is essential when selecting tools for repairs or replacements.
Refer to your bike’s manufacturer guidelines to determine the correct standard. This knowledge will ensure you use the right tools and components, reducing the risk of damage during repairs. Familiarity with these standards will streamline your maintenance process.
Essential Tools for Diagnosis
To diagnose bottom bracket noises effectively, you will need a few essential tools. A bottom bracket tool specific to your bike’s standard is crucial. Additionally, a torque wrench is necessary for ensuring components are tightened to manufacturer specifications.
Other useful tools include a pedal wrench and a chain whip, which can assist in the removal of components that might obstruct access to the bottom bracket. Having these tools on hand will make your diagnostic process more efficient and effective.
Using a Bottom Bracket Tool
A bottom bracket tool is specifically designed to fit the various notches and shapes used in different bottom bracket types. Using the correct tool ensures that you do not strip the bottom bracket shell during removal or installation.
When using this tool, make sure to apply even pressure and avoid using excessive force. If the component does not budge after a reasonable amount of effort, reassess your approach. Forcing it may lead to further damage, requiring professional assistance.
Checking for Wear and Tear
Once the bottom bracket is accessible, check for signs of wear. This includes looking for play in the bearings, which can indicate they are worn and need replacement. Also, inspect the threads for any signs of damage or cross-threading.
If you discover significant wear, it’s often best to replace the entire bottom bracket unit rather than trying to salvage worn components. Investing in a new bottom bracket can save you time and money in the long run by preventing further issues.
Applying Lubrication
Proper lubrication is key to maintaining a smooth and quiet bottom bracket. When reinstalling or replacing components, apply a suitable lubricant to threads and bearings to reduce friction and prevent noise.
Be cautious not to over-lubricate, as excess grease can attract dirt and grime, leading to more problems down the line. A thin, even layer is usually sufficient. Regular maintenance of lubrication can prolong the life of your bottom bracket.
When to Seek Professional Help
Not every bottom bracket noise can be resolved with basic tools and knowledge. If you find that the noise persists after your best efforts, it may be time to consult a professional bike mechanic. They have advanced tools and expertise to diagnose and fix complex issues.
Additionally, if you encounter damage to the frame or internal components that you cannot address, professional help is essential. Attempting to fix serious issues without the right experience can result in more significant problems down the line.
The short version
Bottom bracket noises can be diagnosed by careful listening and thorough inspection. Familiarize yourself with the various bottom bracket standards and acquire the necessary tools. Regular checks and proper lubrication can prevent issues, but don’t hesitate to seek professional help if problems persist.
Diagnosing Creaks: Tools and When to Seek Help
Identifying the source of annoying creaks in your bicycle can be tricky. Start by using a torque wrench to ensure all bolts are tightened to their recommended specifications. If the creaking persists, a bottom bracket tool will help you check the fit of the bottom bracket standard. Each standard requires specific tools, so make sure you have the correct one for your bike model.
If you’ve tightened everything and the creaks continue, it may be time to consult a professional. Persistent noises can indicate underlying issues that may not be easily fixable at home. Knowing when to stop and seek expert assistance can save you time and prevent further damage to your bike.
Where to go next
Everything discussed here lives in Workshop Tools. If you are weighing two options and cannot decide, the answers page covers the questions we get asked most, and a message reaches the people who pack the orders.
From that section
- Park Tool HMR-4 21oz Shop Hammer with Composite Head
- Pedro's Bicycle Cable Cutter, Black/Yellow
- Weyleity Bike Repair Stand Bench Mount Workshop Tool 45lbs Capacity